Upgrading the OVOC Server-DVD
This procedure describes how to upgrade the OVOC server from the AudioCodes supplied installation DVD. To upgrade the OVOC server, only DVD3 is required (see OVOC Software Deliverables). Verify in the OVOC Manager ‘General Info’ screen that you have installed the latest Linux revision ( seeHardware and Software Specifications). If you have an older OS revision, a clean installation must be performed using all three DVDs ( see Installing the OVOC server on Dedicated Hardware).
|
●
|
Before starting the installation, it is highly recommended to configure the SSH client (e.g. Putty application) to save the session output into a log file. |
|
●
|
Enable the required ICMP responses (if disabled) according to Network Options. |
|
➢
|
To upgrade the OVOC server: |
|
1.
|
Insert DVD3-OVOC Server Application Installation into the DVD ROM. |
|
2.
|
Login into the OVOC server by SSH, as ‘acems’ user and enter password acems (or customer defined password). |
|
3.
|
Switch to 'root' user and provide root password (default password is root): |
su – root
|
4.
|
Mount the CDROM to make it available (if required): |
mount /home/acems/DVD3_OVOC_/mnt
|
5.
|
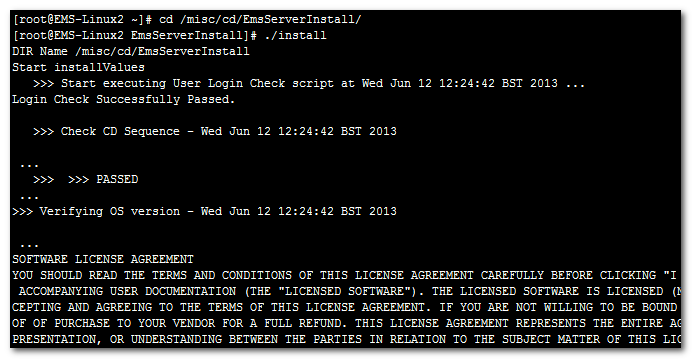
Run the installation script from its location: |
cd /misc/cd/EmsServerInstall/
./install
OVOC server Upgrade
|
6.
|
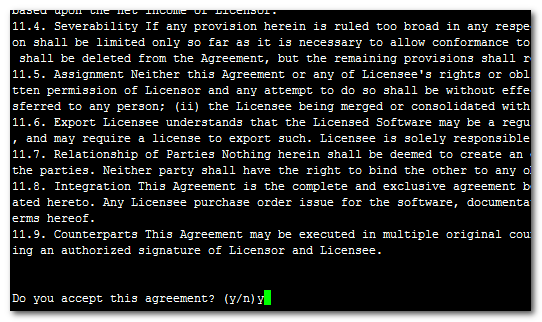
Enter y, and then press Enter to accept the License agreement. |
OVOC server Upgrade – License Agreement
|
7.
|
The upgrade process installs OS packages updates and patches. After the patch installation, reboot might be required: |
|
●
|
If you are prompted to reboot, press Enter to reboot the OVOC server, and then repeat steps 2-7 (inclusive). |
OVOC server Installation Complete

|
8.
|
Wait for the installation to complete and reboot the OVOC server by typing reboot. |
|
9.
|
When the OVOC server has successfully restarted, login into the OVOC server by SSH, as ‘acems’ user and enter password acems. |
|
10.
|
Switch to 'root' user and provide root password (default password is root): |
su - root
|
11.
|
Type the following command: |
# OvocServerManager
|
12.
|
Verify that all processes are up and running (Viewing Process Statuses), configuration and data has been restored, and verify that you can login to the OVOC Web client. |